Shower Valve Leaking at the White Plumber’s Tape: Causes, Fixes, and DIY Solutions
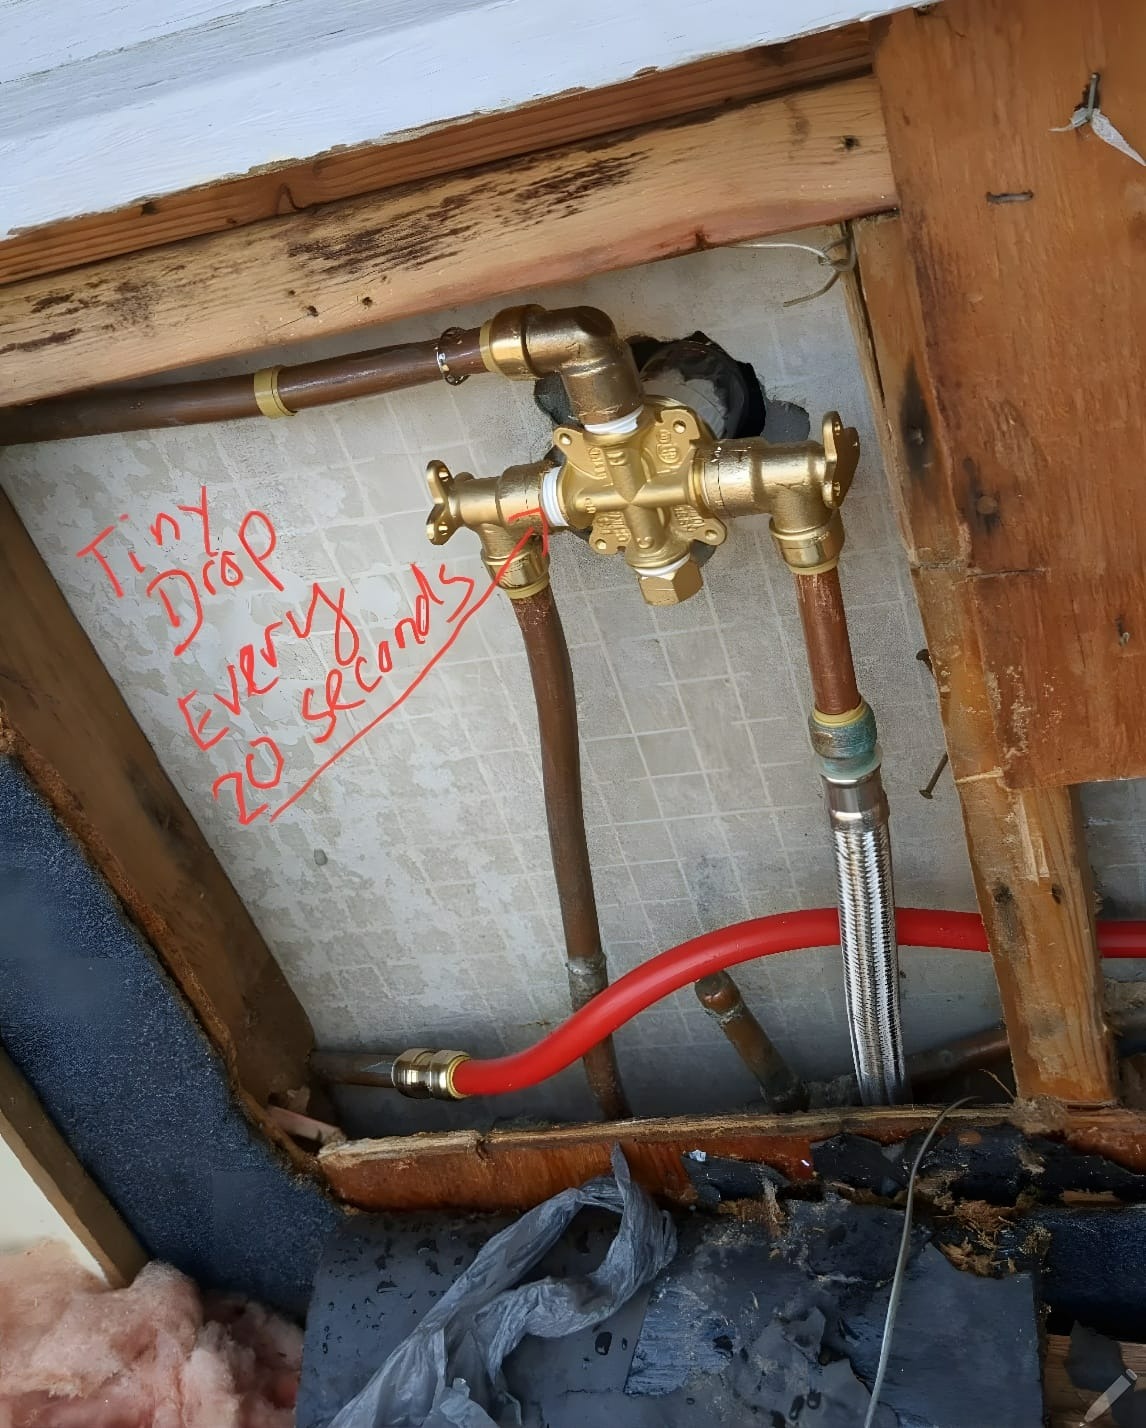
If you have ever noticed a tiny drip coming from your shower valve, especially around the plumber’s tape on the threaded connection, you are not alone. Many homeowners face this issue after replacing or installing a new valve. In this case, the leak happens at the white plumber’s tape and appears as a single drip every 20 seconds. While it might seem minor, even a slow leak can cause water damage, mold growth, and higher utility bills if left unfixed.

Why Is My Shower Valve Leaking?
There are several reasons why your shower valve might be dripping:
-
Improperly Applied Plumber’s Tape
-
Plumber’s tape (also called Teflon tape or PTFE tape) is designed to seal threaded joints. If it was not wrapped tightly, in the correct direction, or applied in too few layers, water can seep through and cause a slow leak.
-
-
Loose Connection
-
The threaded fitting may not have been tightened enough during installation. A slightly loose connection can allow water to escape gradually.
-
-
Overtightened Fitting
-
On the other hand, overtightening can damage threads or crack the joint, which also leads to leaks.
-
-
Damaged Threads
-
If the threads on the brass valve or copper fitting are dented, corroded, or misaligned, plumber’s tape alone may not provide a watertight seal.
-
-
Water Pressure Issues
-
Excessively high water pressure in your home can push water through even the smallest gaps in plumbing connections.
-
Why You Shouldn’t Ignore a Slow Drip
It may be tempting to ignore a drip that only happens every 20 seconds, but here are the risks:
-
Hidden water damage: Over time, the water can soak into wood studs, drywall, or insulation. This leads to rot, mold, and costly repairs.
-
Increased utility bills: A small drip might not seem like much, but it can waste gallons of water each month.
-
Bigger leaks later: What starts as a slow drip can eventually worsen into a steady leak, requiring more extensive repairs.
How to Fix a Leaking Shower Valve at the Plumber’s Tape
If you’re comfortable with DIY plumbing, you can often fix this issue yourself. Here are the steps:
1. Shut Off the Water Supply
Turn off the water to the shower (or the main water supply for your house). Open the shower valve to release any pressure left in the pipes.
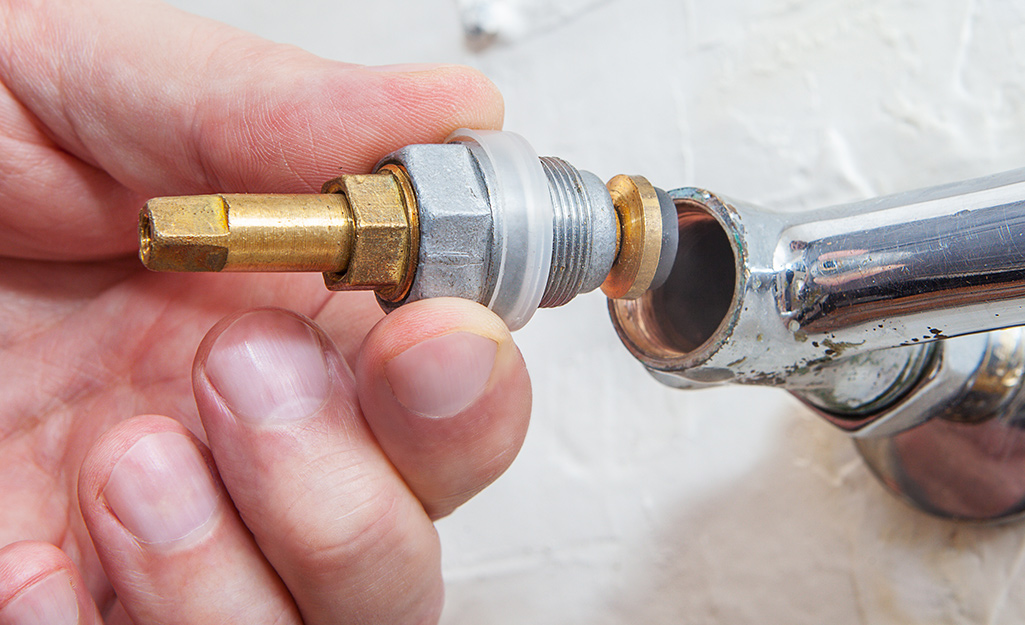
2. Remove the Valve Connection
Carefully loosen the threaded joint where the leak is occurring. Use a wrench but avoid over-twisting, as this can damage the fitting.
3. Clean the Threads
Remove all old plumber’s tape and any pipe dope (joint compound) from the threads. Use a wire brush or cloth to ensure the threads are clean and free of debris.
4. Reapply Plumber’s Tape Correctly
-
Wrap the tape clockwise (the same direction the fitting will be tightened).
-
Apply 3–4 layers of tape, making sure it covers the threads evenly without overlapping into the opening.
-
Press the tape into the threads to create a snug seal.
5. Add Pipe Joint Compound (Optional)
For extra protection, you can apply a thin layer of pipe dope over the tape before reconnecting. Many plumbers use both for a stronger, longer-lasting seal.
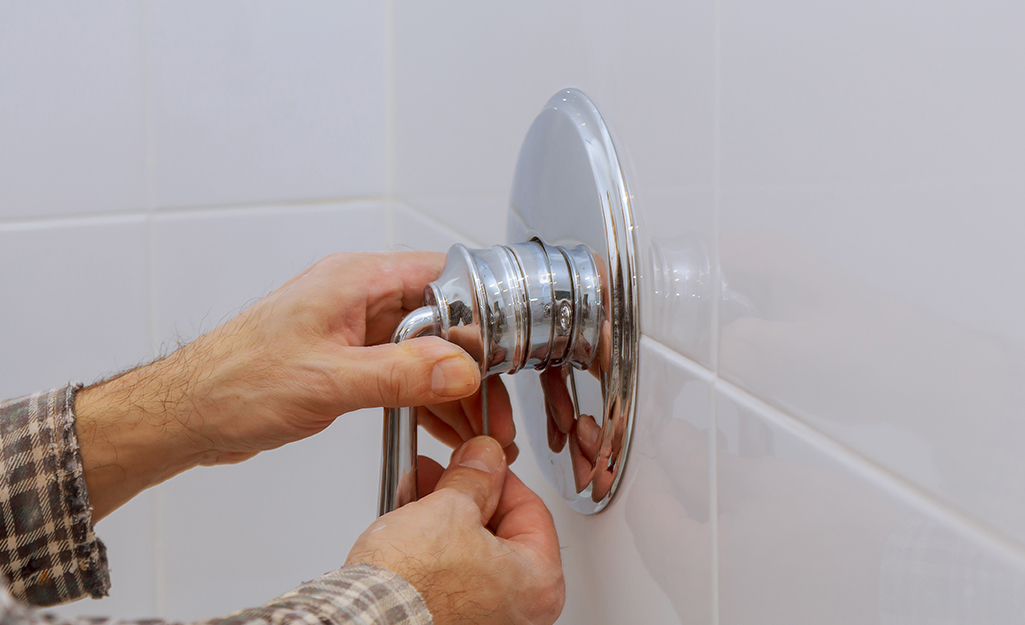
6. Reattach and Tighten
Screw the connection back together. Tighten firmly but do not overtighten, as this can strip the threads or crack the fitting.
7. Turn Water Back On and Test
Slowly turn the water back on and observe the repaired connection. Watch closely for at least 5 minutes to see if any new drips appear.
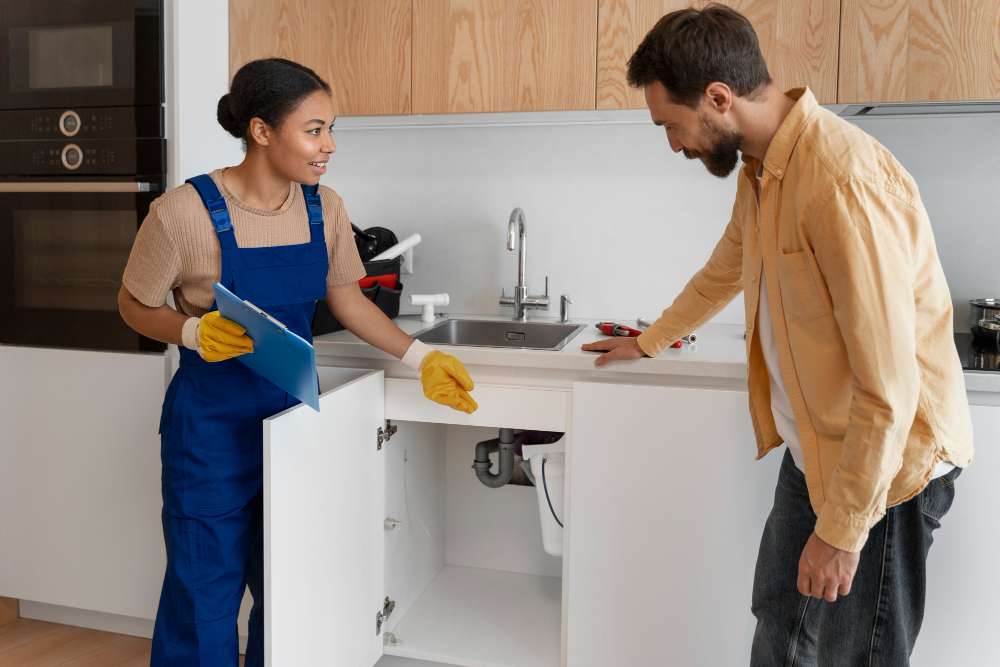
When to Call a Professional Plumber
While a DIY repair works in many cases, there are times when it’s best to call a licensed plumber:
-
If the threads are damaged beyond repair.
-
If the valve itself is defective or cracked.
-
If you notice multiple leaks or water seeping from other areas.
-
If you’re not confident working with copper, brass, or PEX plumbing.
Hiring a professional ensures the repair is done safely and prevents recurring leaks.
Preventing Future Shower Valve Leaks
Here are a few tips to keep your shower valve connections watertight:
-
Always use quality PTFE tape designed for plumbing (not the thin, cheap variety).
-
Wrap tape tightly and in the correct direction.
-
Avoid overtightening fittings—snug and secure is enough.
-
Check your home’s water pressure; ideally, it should be between 40–60 PSI.
-
Inspect plumbing connections periodically, especially after new installations.
Final Thoughts
A shower valve leaking at the plumber’s tape might seem like a minor nuisance, especially when it’s just a tiny drip every 20 seconds. But fixing it early can save you from expensive water damage and repairs later on. Most of the time, the solution is as simple as reapplying plumber’s tape correctly, using joint compound, and tightening the fitting properly.
If you try these steps and the leak continues, don’t hesitate to call in a professional plumber. Sometimes a small leak is a symptom of a bigger issue that requires expert tools and experience.